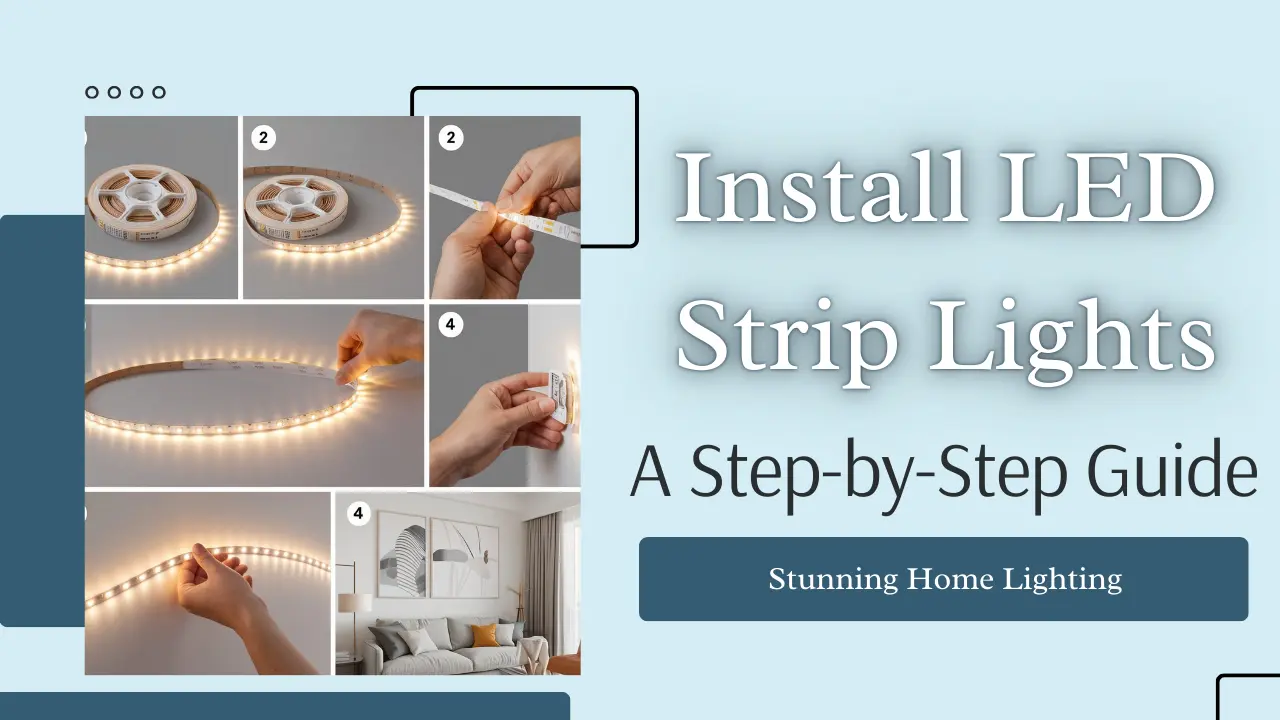
How to Install LED Strip Lights: A Step-by-Step Guide for Stunning Home Lighting
Adding LED strip lights to your home can create a stunning ambiance, transforming any room into a well-lit and modern space. Whether you’re looking to enhance your kitchen, living room, or bedroom, learning how to install LED strip lights is easier than you might think. In this guide, we’ll walk you through the process step-by-step, ensuring your home lighting project goes off without a hitch!
Choosing the Right LED Strip Lights
Consider the Location
Before installing your LED strip lights, it’s essential to think about where you want to place them. Whether you’re highlighting kitchen counters, setting the mood in the living room, or adding a touch of elegance to a bedroom, the location will determine the type of strip lights you need. LED strip lights come in various lengths, brightness levels, and waterproof options.
- Indoor vs. Outdoor: If you’re installing outside or in a moisture-prone area like a bathroom, opt for waterproof LED strips.
- Brightness: Decide on the level of brightness based on the room. For accent lighting, lower lumens (around 200-500) work well, while task lighting may need 800 lumens or more.
Understand Power Requirements
It’s vital to match your LED strip lights with the right power source. Strip lights usually operate on 12V or 24V DC power. Ensure your power supply matches the voltage requirements of the lights to avoid any issues during installation.
- Watts per Meter: Different strips use varying wattages. Always calculate the total wattage of your LED strips and choose a power supply that can handle 10-20% more than the total wattage to ensure safety and longevity.
For a detailed guide on calculating wattage, refer to this external guide on power supply for LEDs.
Preparing for Installation
Measure the Area
Once you’ve chosen your strip lights, measure the area where you plan to install them. This ensures you know exactly how much lighting you need and prevents over-ordering. You can use a measuring tape to get precise dimensions.
- Cutting LED Strips: LED strips can be cut to fit your desired length. Look for the cut marks on the strip, usually indicated by a scissor icon. Cut only at these marks to avoid damaging the circuit.
Clean the Surface
Before attaching the LED strip lights, it’s crucial to ensure the surface is clean and dry. Dust or moisture can prevent the adhesive from sticking properly. Use a damp cloth to clean the area, and let it dry completely.
- Material Consideration: Different surfaces like wood, metal, or tile may affect how well the adhesive sticks. For extra grip, use mounting clips or double-sided tape.
Installing the LED Strip Lights
Peel and Stick
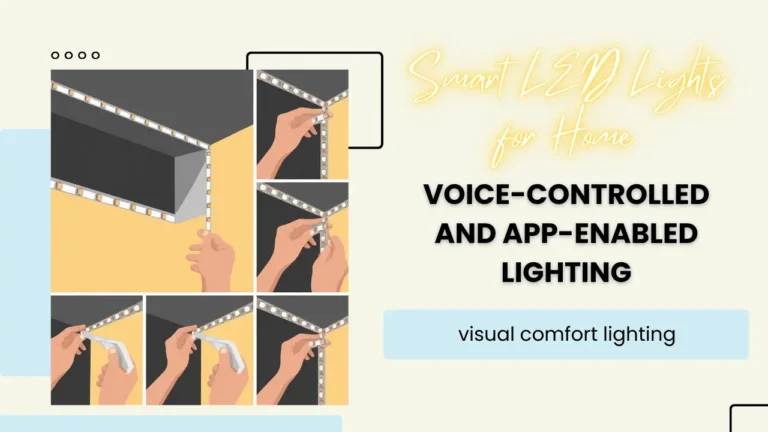
Now that the surface is prepared, it’s time to install the lights. Most LED strip lights come with an adhesive backing. Simply peel off the protective layer and press the strip firmly along the area where you want the lights.
- Smooth Application: Ensure you’re applying the strip in a smooth line to avoid wrinkles or gaps. If you make a mistake, gently peel the strip back and reapply.
Connect to Power
Once your LED strips are in place, it’s time to connect them to power. If you’re using a plug-and-play system, this process is simple. For more advanced setups, you may need to wire the strips to a transformer.
- Plug-in: Many modern LED strips come with a power adapter that simply plugs into an outlet. However, you may want to hide the cord for a cleaner look.
- Wiring LED Strips: For more complex installations, like wiring directly into the home’s electrical system, it’s best to consult a licensed electrician.
Test the Lights
Before finishing up, always test your LED strip lights to make sure everything is connected properly and working. This can save you time in case any adjustments are needed.
- Check for Flickering: If the lights flicker, there might be an issue with the connection or the power supply. Make sure all connections are secure and double-check the voltage compatibility.
Enhancing Your Setup
Use Controllers for Customization
LED strip lights often come with controllers that allow you to change the colors, brightness, and even add effects like flashing or fading. These controllers can be IR remote-controlled, Bluetooth-enabled, or Wi-Fi-compatible.
- Smart Home Integration: Some advanced LED strips are compatible with smart home systems like Amazon Alexa or Google Home. With these, you can control your lights with voice commands or from your phone.
Installing Aluminum Channels
If you want to achieve a professional, sleek look, consider installing aluminum channels for your LED strips. These channels not only make the lights look more finished but also help with heat dissipation, prolonging the lifespan of your LEDs.
- Diffusers: Some channels come with diffusers that soften the light, creating a more even and pleasant glow. They also protect the lights from dust and damage.
Troubleshooting Common Problems
LED Strip Won’t Turn On
If your LED strip lights aren’t turning on, check the following:
- Power Supply: Ensure the power source is plugged in and the outlet is working.
- Connections: Double-check that all connectors are securely fastened.
- Correct Voltage: Make sure the power supply matches the voltage requirements of the LED strip.
Uneven Lighting
If your LED strip lights are dimmer at one end, it could be due to voltage drop. This happens when the length of the strip exceeds the power supply’s capacity.
- Solution: Use shorter strips or power them from both ends using a splitter or an additional power supply.
For more tips on voltage drop, check out this helpful guide on managing voltage drop in LED installations.
Tips for Maintaining LED Strip Lights
Clean the Strips Regularly
Like any light fixture, LED strips can accumulate dust and grime over time. Wipe them down occasionally with a soft, dry cloth to maintain their brightness.
Replace Faulty Sections
If one section of the strip burns out, you don’t need to replace the entire length. You can simply cut out the damaged portion and reconnect the remaining parts using LED strip connectors.
- Splice and Repair: Use clip-on connectors or solder the strips back together if you’re comfortable with basic electronics.
Conclusion
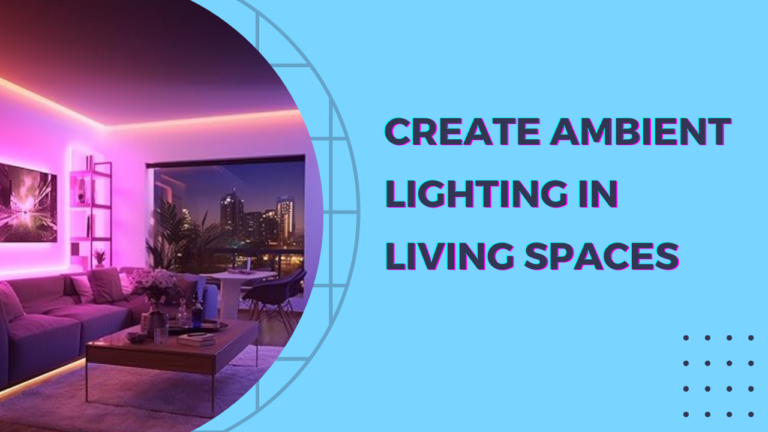
Now that you know how to install LED strip lights, you’re ready to transform your home with stunning, customizable lighting. Whether you’re creating ambient lighting for a living room or highlighting specific areas, the versatility of LED strips makes them a perfect choice. With proper planning and installation, your LED strip lights will add beauty and functionality to any room for years to come.

